
Car Seat Cover Quilted Water Resistant Protect Upholstery Car seats
Crafting a DIY car seat cover without sewing is a popular choice for many. Utilizing materials like fleece or stretchy fabric, you can easily create snug-fitting covers that protect your seats and enhance the look of your vehicle's interior. Begin by measuring your car seat dimensions and cutting the fabric accordingly.

42 Strange But True Car Tricks Every Driver Should Know Diy car seat
DIY Car Seat Covers You don't have to do a complete overhaul of your car seat before making a new seat cover. Here are instructions on how to give your car seat an extra upholstery cushion. The first step is to identify and gather the materials and tools needed, then, cut the pattern and sew it together. Click for more details 3.

car seat cover Sewing Hacks, Sewing Tutorials, Diy Sewing, Sewing
Part 1 Creating the Body of the Car Seat Cover Download Article 1 Purchase a yard of stretchy, breathable fabric. A stretchy knit or jersey fabric works well for making a baby car seat cover. This type of fabric will mold itself around the outside of the car seat for a snug fit while still allowing air to flow through the fabric. [1]

No Sew DIY Backseat Cover to Keep Your Car So Fresh and So Clean Your
Cut your serape cloth to the size of your seat, leaving room for overlap. Attach the serape to the seat using adhesive, ensuring all corners and edges are firmly secured. Beyond providing a delightful splash of color, this DIY project also helps protect your chair surface from wear and tear. How To Make Car Seat Covers

27+ Diy Car Seat Cover No Sew RahetRaffael
Step 1: Make Your Pattern First off, you need to have a pattern. The easiest way to get this, is to go and measure your old seat. If its a complicated seat, my recommendation would be to get some pieces of paper and cut them out to match the individual pieces that make up the seat. Enlarge these pieces a bit so you have a little bit of room to sew.

Backseat cover Diy car seat cover, Car seat cover pattern, Diy seat
Put the towel and tablecloth wrong sides together, and fold the edge of the tablecloth in a half inch or so. Line the edge up with the towel and pin in place. Do this on all four sides of the towel. Then use the sewing machine to sew all four edges together.

How to Sew Car Seat Covers Sew, What's New? Diy car seat cover, Car
Be sure to pin the elastic and ribbon in the right place. Sew around the edge of the car seat protector using a 1/2″ seam allowance. Be sure to leave a 6″-8″ opening along the bottom edge for turning it right side out. I usually stitch back and forth a couple times over the ends of the elastic and ribbon to make them extra secure.

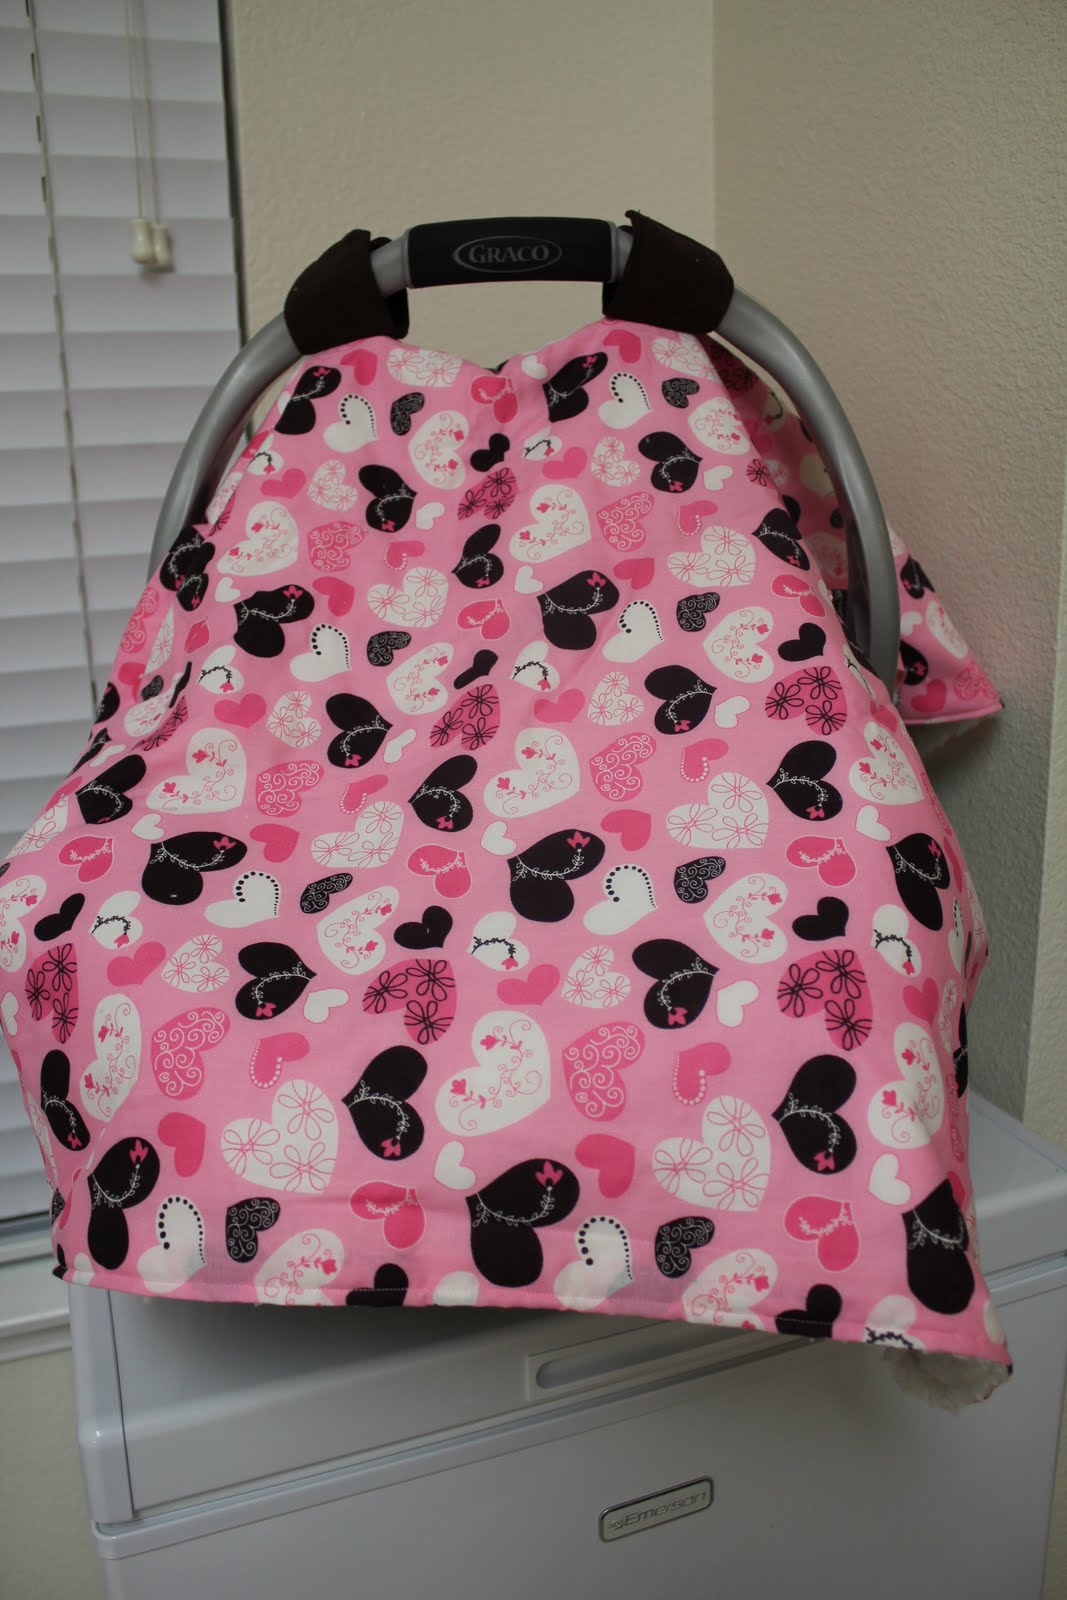
DIY Car Seat Canopy Free Sewing Pattern & Tutorial Fabric Art DIY
The DIY removable car seat cover is perfect for anyone with a newer car that wants to jazz up the interior of their vehicle. The techniques used in making this cover are unique, easy for beginners to understand, and can be applied to any seat in any car.

Pin on Sewing
Step 1: Find the Ugliest/cheapest Universal Carseat Cover. The first step is to find the ugliest and/or cheapest (it is probably actually probably both THE ugliest & THE cheapest) universal car seat cover you can. I got mine on ebay for about 5 dollars. Why destroy something that is pretty?

Car Seat Cover Tutorial Carseat cover, Car seats, Diy car seat cover
Steps to DIY Car Seat Cover: Cut both your front and back fabric into a yard each. Square your fabric. I like to start by ironing my fabric. With right sides together take your front and back piece, serge (or zig zag sew) 1/2″ seam allowance around all of the edges.

My Simple Modest Chic 10 minute DIY Slouchy Car Seat Cover Tutorial
1. The first step in the process is to make the pattern for the new car seat protector. Take your clear plastic sheet, or blank sewing pattern, and lay it over the actual sitting portion of the seat. Make sure that there is extra material draped over the bottom edge, left, and right sides.

Mo Momma Sewing DIY Car Seat Cover Canopy Tutorial
Step 3 of 20. Clip the fold together and peel back the top layer and bottom layer of fabric, leaving the 2nd and 3rd layers facing each other. Clip or pin the sides together so it will stay even while cutting. Step 4 of 20. Fold the clipped half in half again, matching the sides and bottom. Step 5 of 20.

Pin on Craft sewing
Start by cutting out 2 pieces from fabric with your main pattern piece, each on the fold. Make sure the stretch direction matches the arrow on the pattern piece. Sew the two pieces together along both side edges, right sides of the fabric facing each other. (Grey indicates WRONG side of fabric)

Pin on The GROUP BOARD on Pinterest
1 - Cut out Pattern Assemble the pattern. You can find assembly directions on this page . Please note there are two versions of this pattern. There is a picture in the download as a reference guide. 2 - Cut out the pattern pieces Placing the line on the fold pin and cut out the pattern.

27+ Diy Car Seat Cover No Sew RahetRaffael
What to Do? How do you use a T-shirt as a car seat cover? Have you found the perfect shirt for your seat? If so, simply remove any sleeves with a seam ripper and stretch the shirt over the seat, making sure the front is facing where you'll lean. Don't forget to check for armrests and controls first! And that's it - you're all done!
Momma's Playground DIY Car Seat Cover
Let's embark on this creative odyssey together, unveiling the comprehensive step-by-step guide that will take you from envisioning to executing your very own no-sew car seat canopy. 1. Choose Your Fabric: At the heart of this endeavor lies the crucial choice of fabric.